I learned a lot about ring making from designing to waxing to final touch. Sounds like I took a metalsmithing class? Sadly, no but I got first hand exposure helping Olivia turn her chaotic studio into a presentable and efficient space.
Time management became a precious commodity to Olivia after she had her second child. Two issues presented when she reached out to me. One was that time was precious and she was constantly looking for this or that tool. The other is that her studio was set-up to have customers meet her onsite. She was proud of her waiting room as it was already clean and presentable; her work space, not so much. Customers love seeing an artist’s workspace, and who doesn’t? At the same time Olivia was embarrassed by the state of her work space and not having time to organize them.

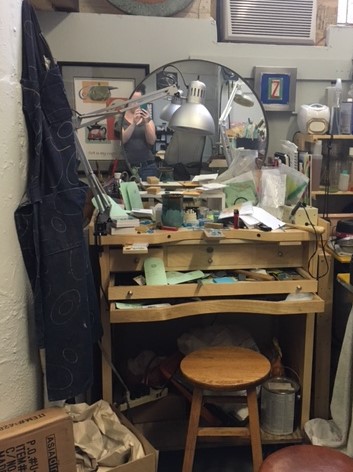
I knew nothing about jewelry making so I asked Olivia a lot of questions about what works for her and what doesn’t. She has three workstations in roughly about 90 square feet. Starting with one station, we went through every single item in drawers or behind the work table and discussed what should be stored in each drawer or other space around the work station according to Olivia’s needs.
When I came back a month later to tackle her office, her jewelry making work stations were still organized as when I left. The best part for Olivia was that it’s so easy to find the tools she needed and clean up is also easier. She felt happier and more comfortable showing off her workspace to her customers. Not only that, she found her creativity outlet came alive since she’s not so stressed out dealing with deadlines. And, I had fun learning about jewelry making.
Side note: These blog stories feature real clients and their organizing solutions. To maintain client privacy, all names have been changed.